Steps
1. Please go to: https://www.connectmanager.net/login
2. Please enter a valid username and password to gain access to Connect Manager
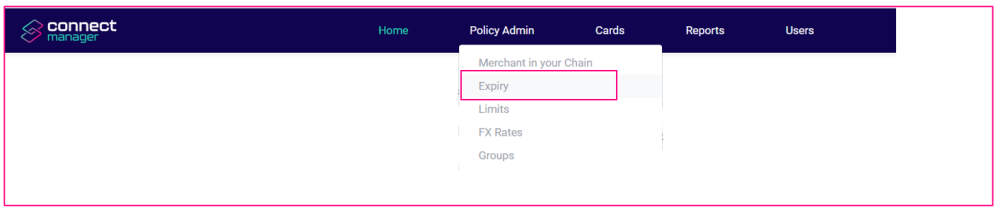
3. Once you have landed on the main page of your Connect Manager account, please click on the ‘Policy Admin’ menu item in the upper portion of your screen.
4. Once you have clicked on the ‘Policy Admin’ menu item, then please click on the ‘Expiry’ menu item that appears thereunder:
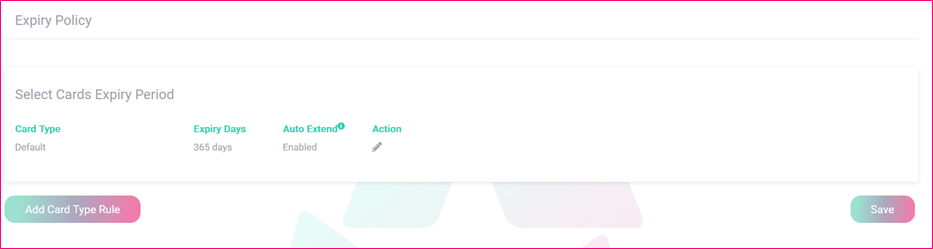
5. Once you have clicked on the ‘Expiry’ menu item, you will then land on the ‘Expiry Policy’ page, which will display the default expiry policy information for that Chain:
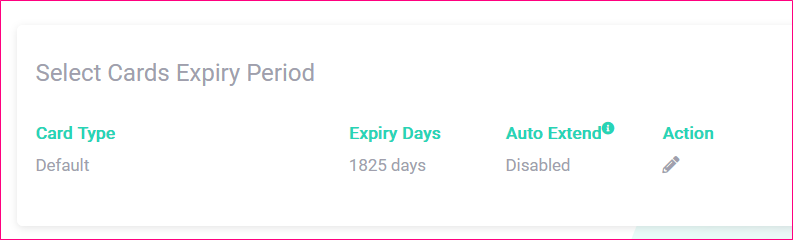
6. As you can see from the above screenshot, there are three editable sections on the ‘Expiry Policy’ page, and one section where new information can be added:
• Card Type – Editable By Clicking The Pen Icon Under The ‘Action’ Heading
• Expiry Days – Editable By Clicking The Pen Icon Under The ‘Action’ Heading
• Auto Extend – Editable By Clicking The Pen Icon Under The ‘Action’ Heading
6a. As you can see from the above screenshot, once you click on the pen icon under the ‘Action’ heading, a small panel will appear with a built-in dropdown where you can select from a list of pre-set periods of time, as well as the option within that same list to enter a Customer number of days. If you select the Custom option, a small field will appear on the right of the dropdown where you will type in the custom amount of days that you wish your Expiry period to be: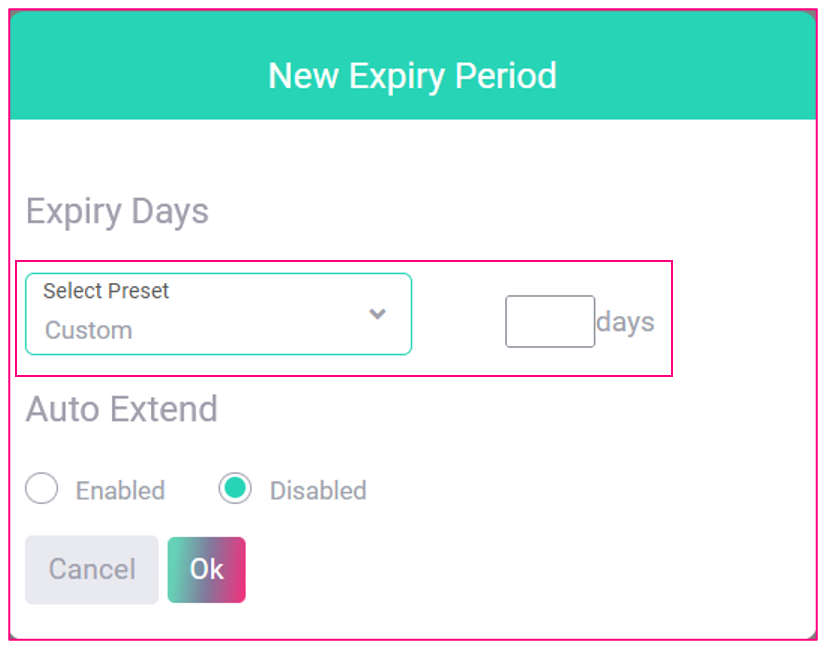
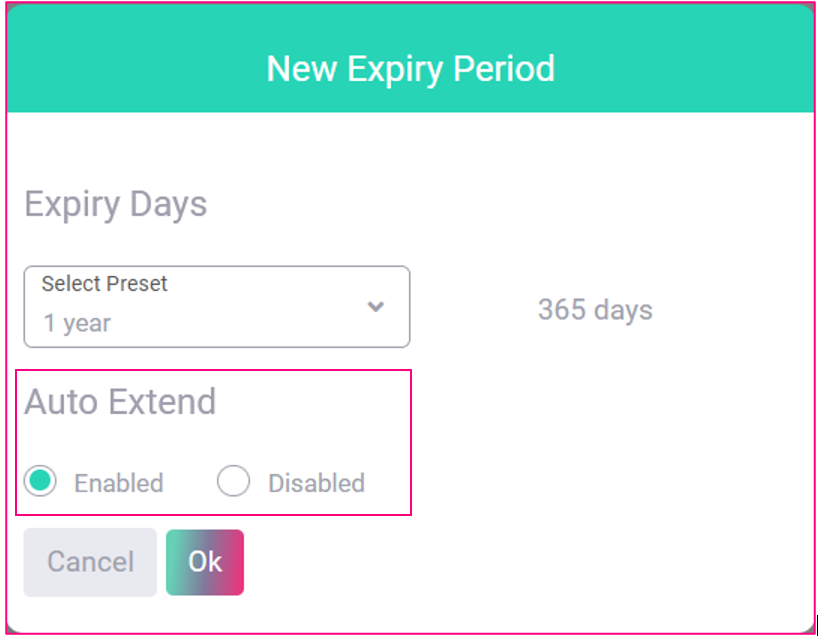
7. The ‘Auto Extend’ refers to the option to select whether the expiry policy for your cards extends automatically or not. If you select the ‘Enabled’ radio button, your ‘Expiry Policy’ WILL extend automatically. If you select the ‘Disabled’ radio button, your ‘Expiry Policy’ WILL NOT extend automatically:
8. Once you have successfully set up your number of ‘Expiry Days’ – (whether from the pre-set dropdown list options, or by entering a Custom number of days), and then selected whether you wish for your ‘Expiry Policy’ to Auto Extend or not, then please click on the ‘OK’ button in the lower right portion of the ‘New Expiry Period’ panel.
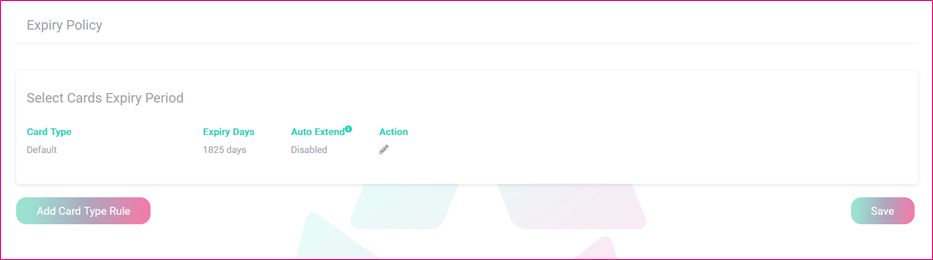
9. Once you have successfully clicked on the ‘OK’ button within the ‘New Expiry Period’ panel, you will then return to the main ‘Expiry Policy’ page within your Connect Manager account.
10. Once you have returned to the ‘Expiry Policy’ page, and you are satisfied with your new Expiry Policy settings, then please click on the orange ‘Save’ button in the lower right of the ‘Expiry Policy’ page: